The last few weeks at “In the stitch zone” with Alex at Scunthorpe Library we have been working on a Filling Stitch Sampler Project. Alex suggested we use a simple shape for trying out the various stitches.
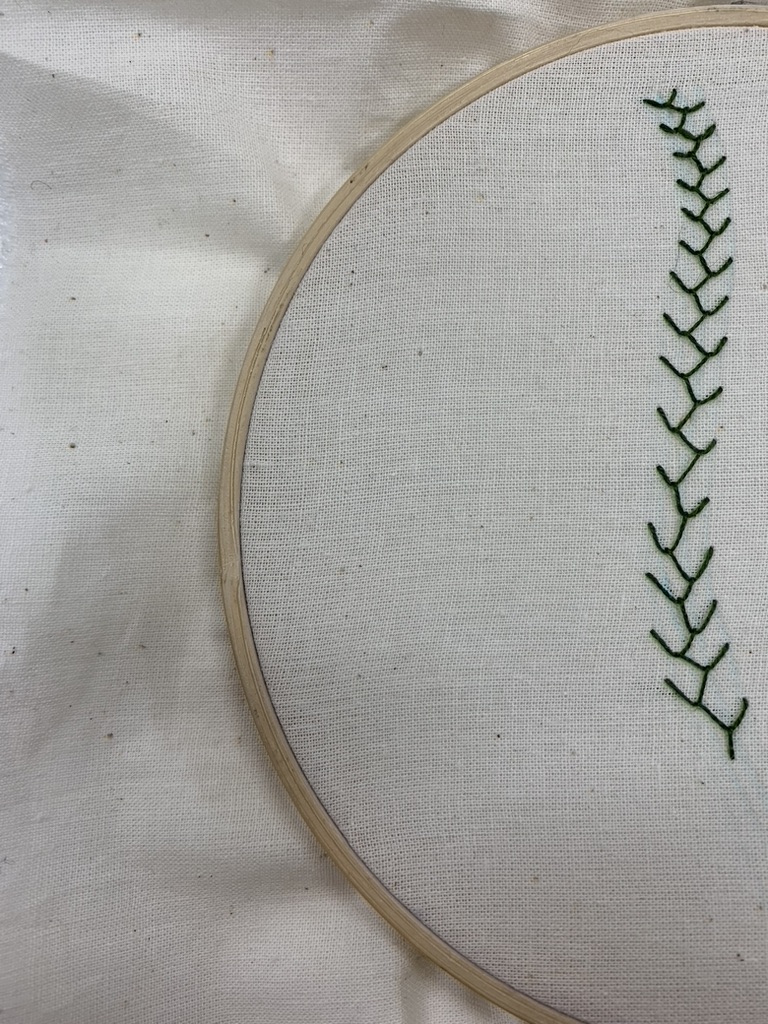
I decided to use my leaf shape from the first week back in September’s Fun with Feather Stitch Workshop, where I almost immediately went off piste. I did do one row as per instructions, but then wondered what would happen if….

…… I layered my stitches ……

…… more……

….. and more. I added a few stitches at the top to make it more leaf-shaped.

Some more stitches over the whole shape, until I ended up with this…..

…..which I was very pleased with.
The first week of filling stitches was satin stitch, which I’ve done before. So I challenged myself with a slightly textured variegated thread, no idea where it’s come from or what it is.

But I’ve got a much more slubby one, which must have been in the same dye bath, and which I’d wondered about using for the other side of the leaf. That was until Alex pointed out that it was only suitable for couching, which shows how long it is since I last did any satin stitch! The stranded one on the left is probably from the same dye bath, too.

I haven’t finished it yet, but I must before using up the last of the thread on the split stitch sample (week three).

This is also not finished, but I can use another thread on the other side.

On week two we did seed stitch, which I’d not appreciated could be one of several different stitches: french knots, bullions, stab stitch (the only one I’ve used before). I decided to use fly stitch on a scrap of green dyed slubby silk that I have been a bit precious about, in my go-to green perlé. It needs touching with an iron at the top right. Three more weeks to go before I need to decide how to mount them all.


I know you said leaf- but made me think of Lombardy poplars! 🌳
I can see what you mean
Oooh, looking really good. That variegated thread gives a lovely effect to the satin stitch.
Yes, I’m pleased with the effect
This is going to make for a delightful stitch display – maybe a leaf made of leaves?
Thank you, maybe. Watch this space!
[…] used a green perlé to start feather stitching to a faint blue line of water soluble pen. So far I have only stitched the felt, […]