Archives for the month of: November, 2023

It was decided in the summer that the SEATA group would do geodes as well as travelling books, starting at the September meeting. The travelling books group had got much smaller. I opted out a while ago. When the format changed, I found that it didn’t spark my imagination in the way responding to what was already in the book had done. Two pages on a drawn-out topic just wasn’t the same.

All the participants had to set up a 6″ or 8″ hoop with a background fabric of their choice. Then put it in a bag with a little notebook, pencil and any guidelines or instructions (stitches or colours for example), and add any threads or notions if they wanted to, ready to be picked up by somebody else taking part. The idea is to work one row, inside the previous row make a few notes in the little book – stitch, thread used etc., and SIGN the page, so we know who has done what on our geode, put it back in the bag ready for it to be passed on next month.

This is where the travelling books fell down sometimes, if somebody wasn’t at the next meeting to pass on and collect the next one on the list. We tried various ways to try and reduce the problems, but some groups got in a real muddle at times. It was decided that if you missed a meeting, just to do another row and pass on next time with the geode.

I was dithering on my background fabric but, while looking for something else, I came across a little paper bag with these autumn-coloured tree “buttons” in, long forgotten my original intention with them. However, I decided they would make a perfect border for my finished wood / forest / trees geode on this dark background fabric.

I found this variegated slubby yarn …..

….. and couched it down. I’ve put the trees in the bag, so they can be stitched down at the end. (They would catch on threads while stitching if I’d put them on at the beginning.)

This is how it looked at the October meeting, thanks to Sue.

I chose this lovely green hoop for my first pick, and by chance it happens to be Sue’s. The only confusion so far seems to have been that some of us had done our own first row and some hadn’t, but not a problem. I used this dark purple thread to do Coral knot stitch, deliberately not making it a perfect circle.

The one I picked up at the October meeting was Lorraine’s, with the gold (the top photo) already stitched. She wanted shiny and blingy, so I’ve used a deep pink Anchor Marlitt for a random buttonhole stitch.

I don’t know who took mine last month, so it will be fun to see how it has progressed.
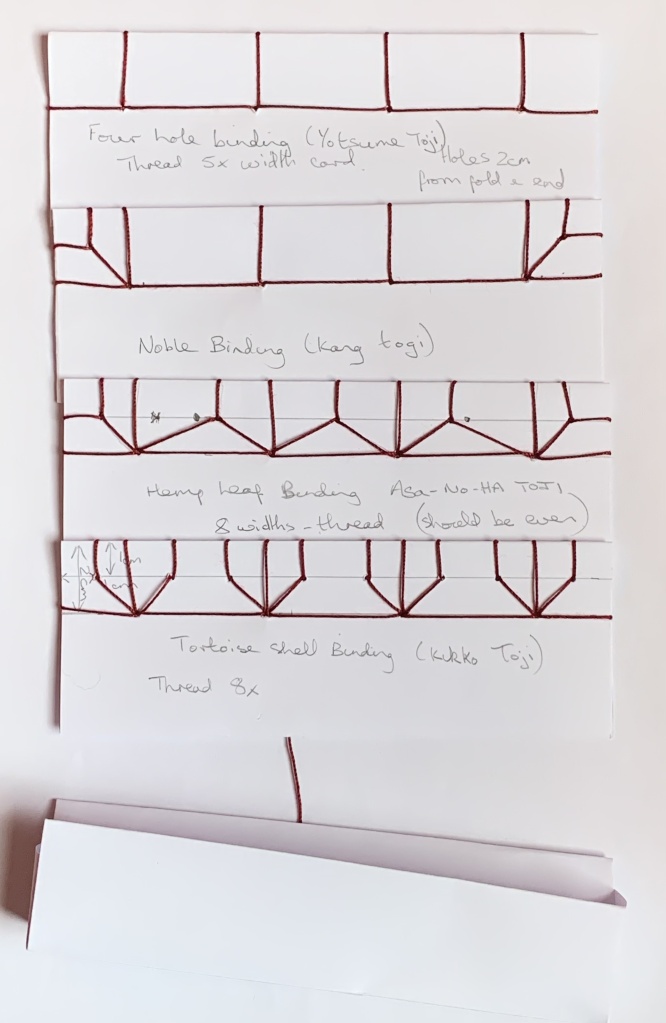
Last Saturday at Lincolnshire Textiles it was a “Creative Corners” day, and I opted for the Japanese book-binding sessions with Janet Taylor. It was a fun and informative workshop. Janet had been very generous with the time she had spent preparing packs with paper, including a beautiful marbled sheet for each of us, instructions and materials for us to use. She had also ready-prepared samples for our reference Blue Peter style.

The plan had been to do four samples and a book in the morning session, and we all got off to a flying start. We folded and cut or ripped an A4 sheet into four A6 pieces, folded them in half and pricked out the relevant number of holes. We did the simplest first, the four-hole binding (Yotsume Toji), which looks the same front and back as they all do. We started the stitching in the second hole from the left on the front, and worked to the right along to the next hole and down, up over the top and back down, along to the right on the back, repeating this to the end. Then we came back to the left, filling in the gaps, and then back to the second hole, where the two ends were taken in to the middle and tied off with a reef (or square) knot. Simple!

The Noble Binding (Kangxi Toji) worked out well too.

We all seemed to think we’d cracked it and started the Hemp Leaf binding (Asa-no-ha toji). Ha! We got a bit muddled with this one, and most of us had to do rather a lot of unpicking and working backwards. It was more complicated, and had we just got complacent? As you can see from my third one down, I hadn’t measured properly either, which added to the problems (the dots I put in at the end show where the stitches should have been). By this time Janet had realised that getting the book done before lunch was over-ambitious and, rather than spoil the book, just to do the Tortoise shell binding (Kikko toji) before we stopped. This was less complicated, and we soon had it done; whether we were more careful and aware of the pitfalls, or it really was easier, I’m not sure.

Janet had made a little box of folded paper for each of us to keep all our samples in, a useful resource for future reference.

After lunch we started our books, each choosing which pattern we wanted to use. Janet had given us a sheet of variations that had been the original plan for the afternoon session, and I chose Hemp leaf variation 1. The yellowy gold thread was more inclined to tangle than the burgundy that I’d used in the morning, but I liked the colour with the marbling.

The back looks good too.

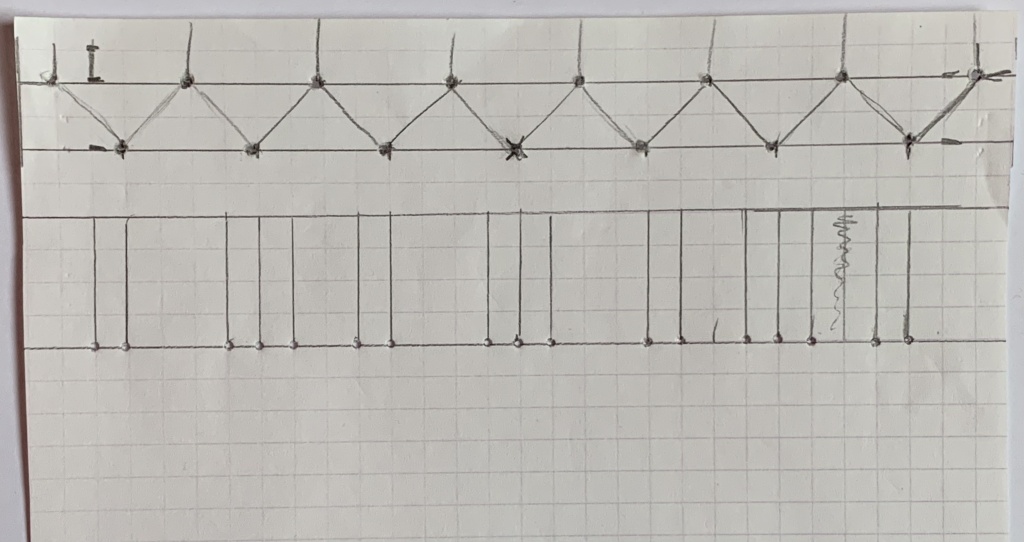
Some of us had time to do more of the variations once the book was finished. I only managed one, a version of the Five hole variation, which should have had equal gaps between the three straight stitches. You can see that I made mistakes on the graph paper version, but the stitched one is what I was aiming for. The stitches need a bit of straightening up as I was rushing to finish before we had to pack up. Someone pointed out they look like piano keys, and that’s another thing to get back to!

I certainly came home with more ideas to try. Thank you, Janet, and thanks to Brenda Scarman for organising the day.

This is a cotton pillow case that my mum embroidered in the late 60s / early 70s. It has a matching sheet, with the embroidered edge folding over the made bed. There was a single set each for my sister and me, and a double-bed set for mum and dad. I found it in an old suitcase when I was emptying the house after my dad died in 2016. The cotton is a lovely quality, a high count and with a very smooth and silky feel. The pillowcases were 5 shillings and 3d each (26p). This yellow one was for my bed; luckily the colours are still right, although I’ll probably add some burgundy too, on the other pieces.

The pattern and some Coates Anchor skeins were all in the bag with the sheets and pillowcases.

Mum had started on a second pillowcase, but this is as far as she had got. We had moved into a ramshackle old house in 1969, and there were far more urgent things to do than embroidery. Also in the early 70s we had continental quilts and easy-care poly/cotton bedding.

I was delighted to find them all. I assessed the sizes and came to the conclusion that, using the single sheets along with the double one, I can make a king-size quilt cover. The pillowcases were slightly grubby and had marks on them, but I washed the finished one and all the marks have come out. Phew!

It’s lovely to see mum’s work, and the delicate design is timeless. I am going to continue mainly with a single strand of thread, rather than the three strands in the instructions. I’ll vary the colours, partly as I don’t have a number for the paler green and there is literally only one length of it left, and partly because I think it will make a more interesting finished piece.

I’ve made a start, trying to match mum’s satin stitch, the yellowy green (two strands).

So far, only one finished motif. It will be good to pick it up between other projects, for a change of pace.

The last few weeks at “In the stitch zone” with Alex at Scunthorpe Library we have been working on a Filling Stitch Sampler Project. Alex suggested we use a simple shape for trying out the various stitches.

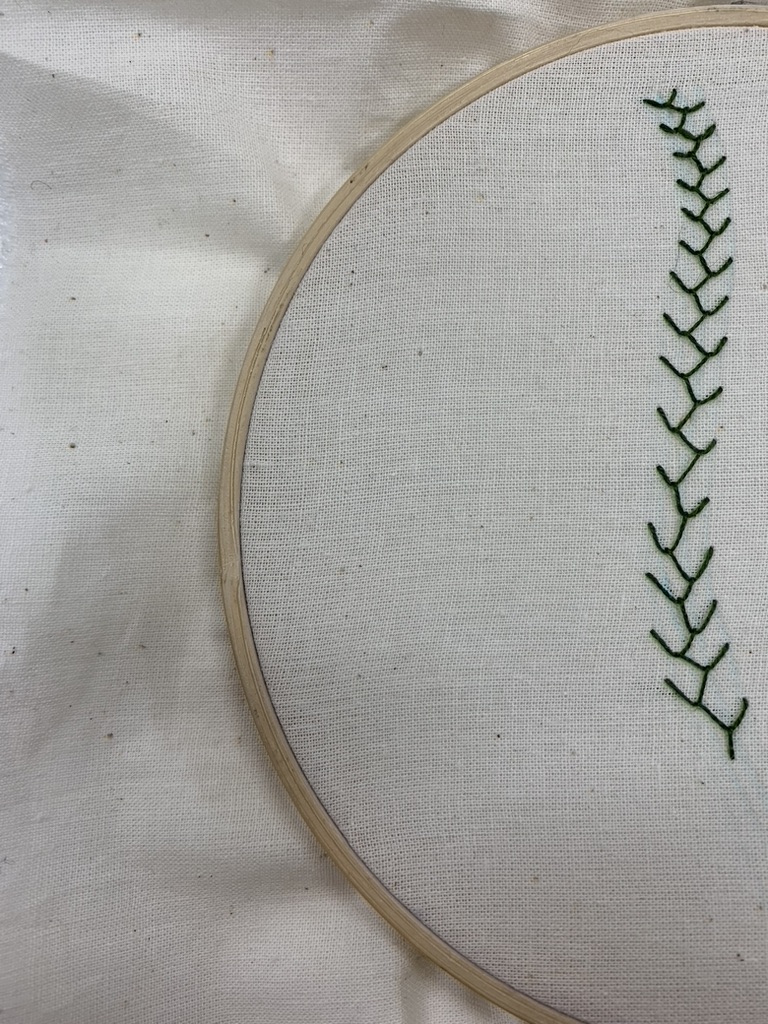
I decided to use my leaf shape from the first week back in September’s Fun with Feather Stitch Workshop, where I almost immediately went off piste. I did do one row as per instructions, but then wondered what would happen if….

…… I layered my stitches ……

…… more……

….. and more. I added a few stitches at the top to make it more leaf-shaped.

Some more stitches over the whole shape, until I ended up with this…..

…..which I was very pleased with.

The first week of filling stitches was satin stitch, which I’ve done before. So I challenged myself with a slightly textured variegated thread, no idea where it’s come from or what it is.

But I’ve got a much more slubby one, which must have been in the same dye bath, and which I’d wondered about using for the other side of the leaf. That was until Alex pointed out that it was only suitable for couching, which shows how long it is since I last did any satin stitch! The stranded one on the left is probably from the same dye bath, too.

I haven’t finished it yet, but I must before using up the last of the thread on the split stitch sample (week three).

This is also not finished, but I can use another thread on the other side.

On week two we did seed stitch, which I’d not appreciated could be one of several different stitches: french knots, bullions, stab stitch (the only one I’ve used before). I decided to use fly stitch on a scrap of green dyed slubby silk that I have been a bit precious about, in my go-to green perlé. It needs touching with an iron at the top right. Three more weeks to go before I need to decide how to mount them all.