Archives for category: hand embroidery

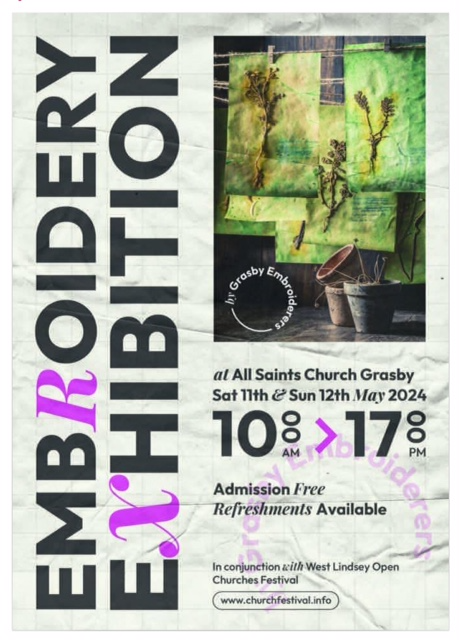
After our “Out in the garden” exhibition last year, what were we doing and where were we going as a group this time?

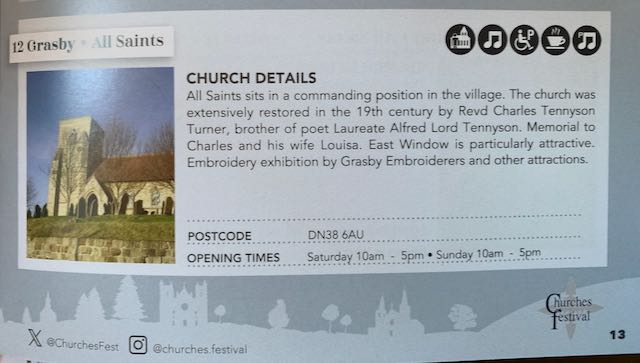
It was suggested that we did an exhibition at All Saints Church in Grasby as part of West Lindsey Churches Festival.

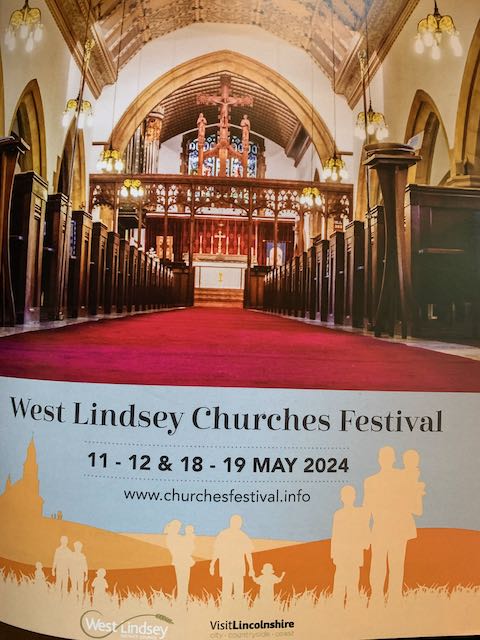
Although the Festival is over two weekends in May, the Grasby Church and our exhibition are open only on 11 and 12 May, 10am-5pm.

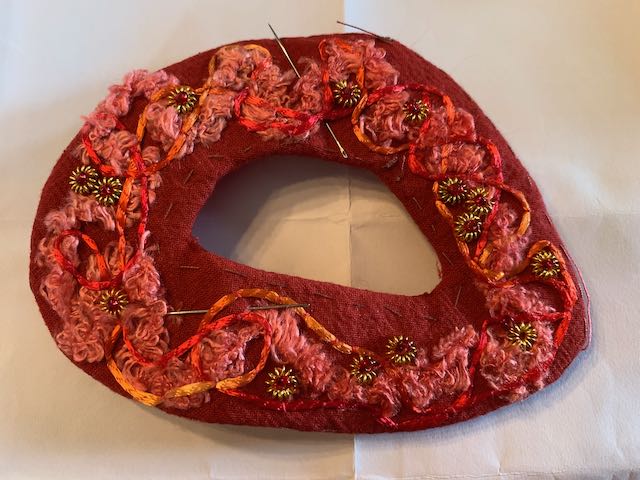
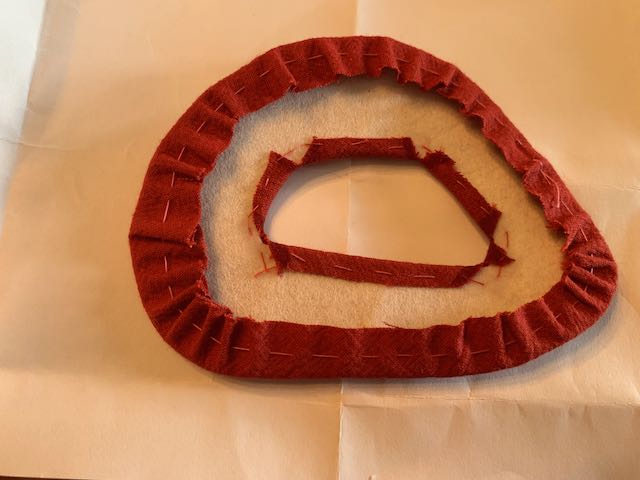
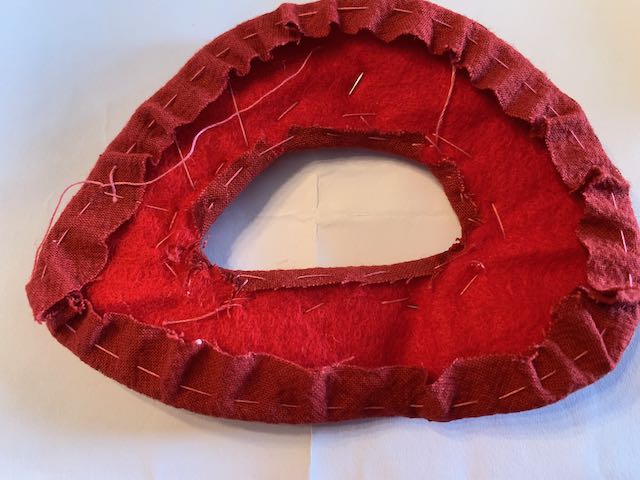
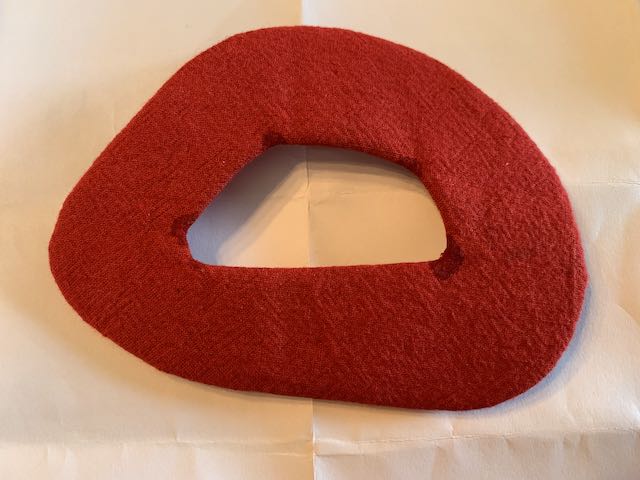
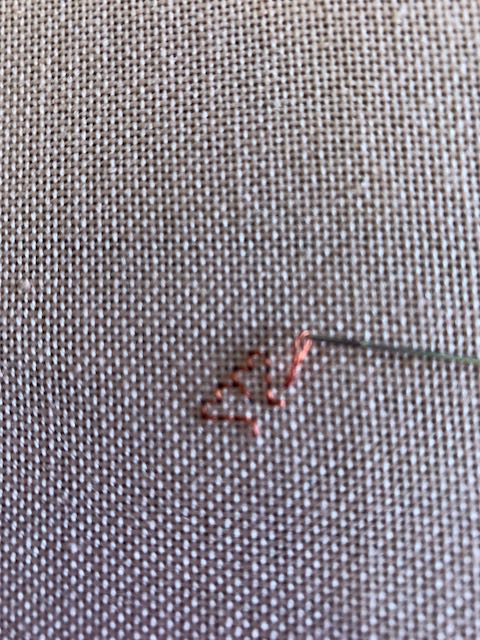
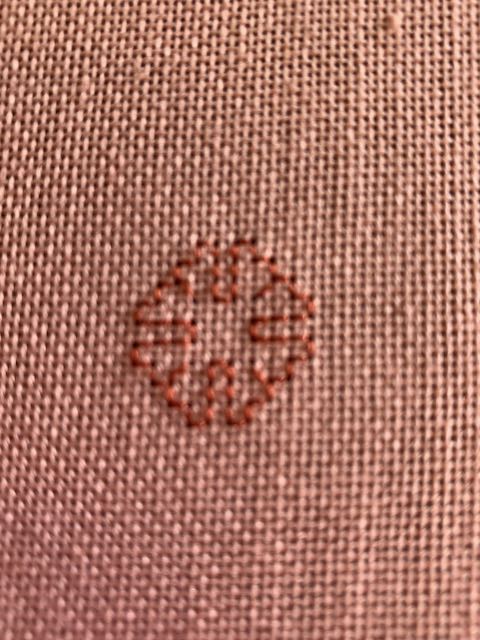
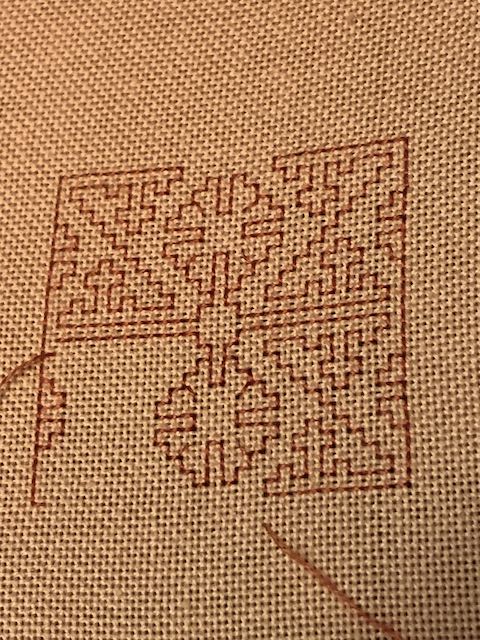
As for “what”, we took a new title of “Botanicals”, which has been interpreted completely differently by each of the six of us, as always. In the end, my pieces were inspired by this photograph of hydrangeas that I took many years ago.

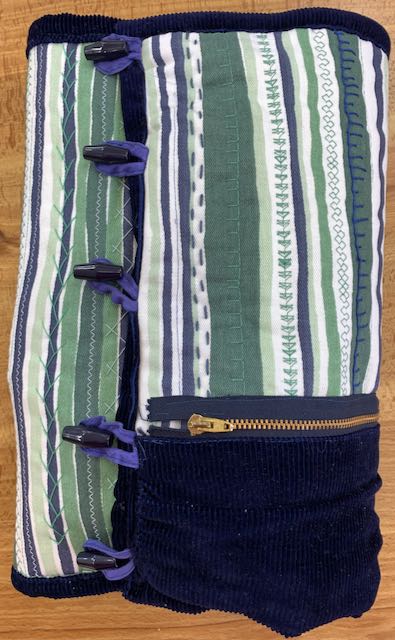
We’ve all done a piece in a black frame called “Putting the garden to bed”, based on taking down the “Out in the garden” exhibition last August. Some of the pieces are from “Out in the garden”, but will look completely different in the different setting.

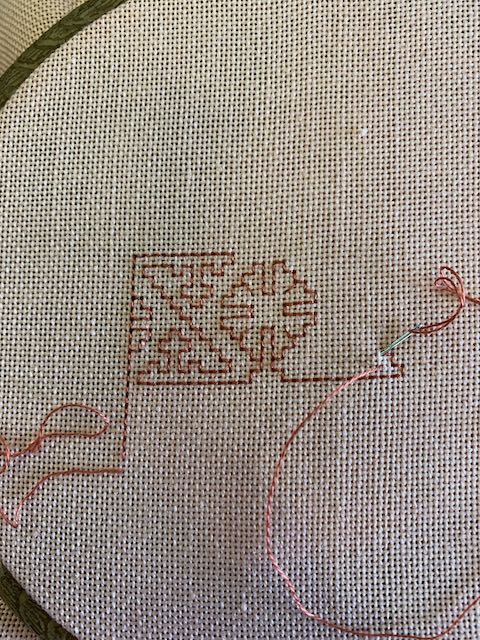
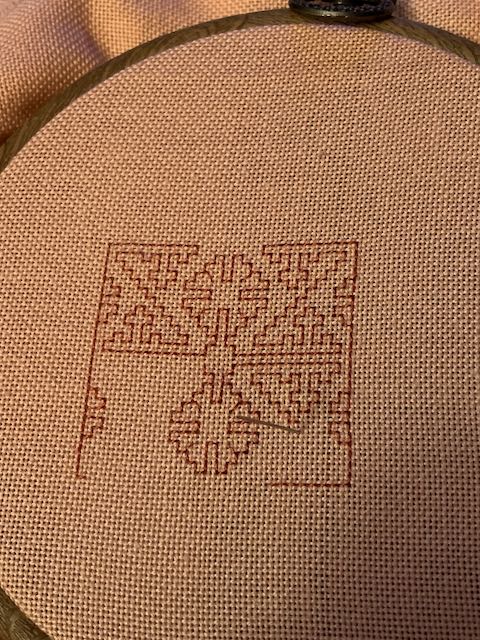
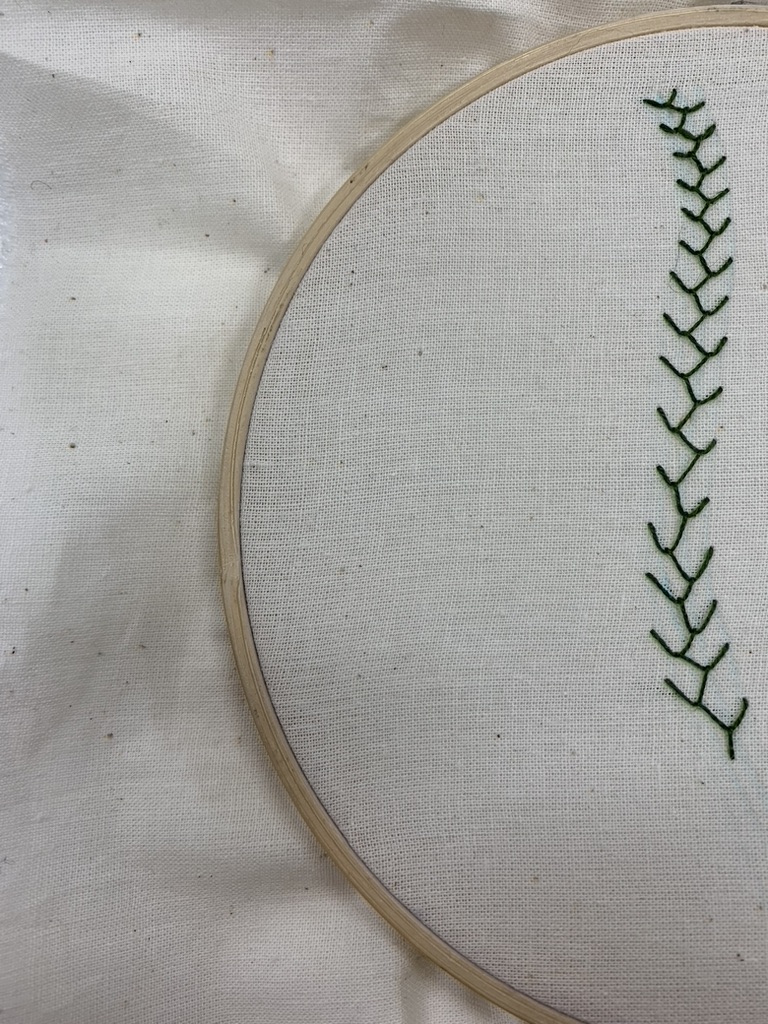
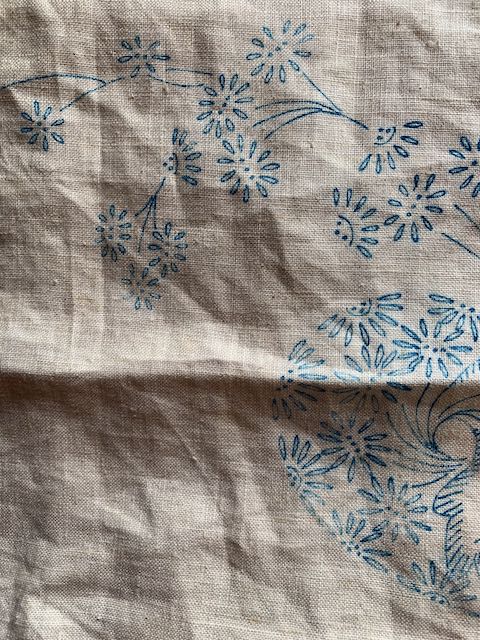
Jean gave us all a lovely piece of vintage linen tablecloth with a pre-printed design, and even with so much the same starting point, we have six very varied finished pieces of work.

We all had 8-plus labels for our own work at the last meeting, and there is also a large communal piece to see, that we’ve all contributed to.

Local ladies are providing refreshments (but there’s no loo, so don’t drink too much tea!). We are taking turns with the stewarding and answering any questions about the work. There are fabulous views over the Wolds from the church porch, and if the weather is clear enough you can even see Lincoln Cathedral.

I continued my hair slide at “In the stitch zone”, having decided in the end to use the little coiled rings and stitch a red bead in the middle of each one. I’ve spaced them singly, twos close together and a three, placing them all fairly centrally, thinking that they are less likely to get tangled in my hair than near the edges.

I cut out two pieces of pelmet vilene and a piece of red felt, intending to put the layer of felt behind the stitching. I roughly pinned them together to check how it would work.

I did a row of running stitches around the edge and centre hole, with a good secure knot at the beginning to be able to gather it up over the vilene. I did the back first to check it would work.

Then I did the front, and it was almost done before I realised I’d put the felt over the vilene. I didn’t want to unpick it, so the felt is between the two layers of vilene which seems to work fine.

I put a tiny bit of PVA on the back, over where I had snipped to get a neat finish, but unfortunately it seeped through a little. Not a problem, it would be against my head, and would probably dry invisibly (well, almost). I slip stitched / ladder stitched the front to the back, in the middle and round the outer edge.

The slide is finished, and it’s used up a few bits of my stash that I wasn’t sure what to do with.

I’m pleased with the colours and textures, and wore it to the session this week. A few of the group noticed, and Alex took some photos for me.

It works with the orange things that I wear as well as the red!

Last Saturday was the first Spring Gathering of YHEG (Yorkshire and Humberside Embroidery Group) at the Regan Centre at Riccall. The venue is used for the Summer Gathering, what used to be Regional Day of the Embroiderers’ Guild, there were workshops morning and afternoon, and the usual lovely lunch.

I chose to do Liz Almond’s blackwork sessions, one in the morning and continuing for the afternoon session. Most of the other workshops were just for two hours, so you could choose two different ones.

I’ve not done much blackwork and not particularly successfully – the usual counting problems! But I really want to finish my blackwork castle from “In the stitch zone” last summer. I’ve only done the outline so far, and thought this would be the push to pick it up again.

Liz had got a pack for each of us, with fabric, needles and enough patterns to keep us going for six months (she said!). More like six years, I thought! We could stitch on Aida in the kit, or swap it for a piece of 28 count Jobelin if we wanted to. I thought it was an ideal opportuntity to try it. But there was no white or cream, just a pinky peach, which I wasn’t sure about at first. But after a rummage through Liz’s bag of floss I came up with a pinky chestnut that I found was kinder on my eyes. (The last photo is the nearest in colour.) Blackwork doesn’t have to be done in black.

The pattern that I chose to follow was intended as a bookmark, with the motif repeated several times. This is just a tiny part of it.

I started off ok, with backstitches following the pattern……

…..until I got to the top of the second set of steps and turned left. I soon realised I’d miscounted and done one step too many, which meant the pattern was too far out from the centre motif. Fortunately it was soon unpicked and corrected. This is where I’d got to at the end of the sessions.

There were also sales tables from many of the individual stitch groups, always good for a bargain. Not that I needed anything, but who can resist?

I have got back to it during the week ……

…… and finished off the first block, apart from x-stitches or beads in the middle of the two central motifs and the centre square. I’m not going to do the bookmark as the pattern, but work outwards from here.

Liz had a huge amount of samples and finished pieces of work, and told us about her website with lots of information, freebies and patterns. I spent several hours browsing on Monday evening and I’m planning on going back soon http://www.blackworkjourney.co.uk

I cut off some of the excess navy needlecord on the left hand side, and folded the pocket section on to the lining (it needed a bit of fiddling to mitre the corner). The rest was ironed in half, then folded over to make the binding. It was quite bulky and, after trying to pleat / fold the excess on the pocket, I decided the easiest way would be to do a long machine stitch and gather it up like a sleeve head. This would make it even on both sides, and leave the pocket big enough for my glasses or phone.

Before it could be stitched down, I made some elasticated loops to go round the navy toggles found in my button box. I used this old round cord, threaded through bias binding stitched in half .

I used a mattress needle to thread it through, in the end cutting the bias into two and half inch lengths before threading the elastic.

I pinned them in place and machine stitched them all down……

……..before folding over the binding and stitching it in place. Then another piece of binding was put across the top, the right hand side of the pocket was turned in and hand stitched in place.

I then put things inside……

……. so that I could see where the toggles needed to be stiched. I’ve decided not to wash it for the moment in case the navy cord does run. (Alison suggested putting white or pale work in a plastic bag just to make sure it doesn’t pick up any colour.)

When they’ve seen it, several folk have said it’s bigger than they’d realised from my blog posts. When it’s opened out, it measures 34cm high (13 1/2 inches) by 61cm (24 inches) across the three “pages” and closed 23cm (9 inches). Yes, it is fairly hefty, but I should be able to take out with me all that I might need at various groups and classes I go to. Things will no doubt get tweaked and added to, but it’s finally finished and ready for use.

As you can see above I’ve attached the other piece of embroidered stripy fabric to the back side of the hussif cover. It’s worked in quite neatly.

I then started thinking about the lining of the flap, as I didn’t want to leave the calico with various loose ends and joinings on view. I found a piece of fine navy needlecord in my stash and cut it rather too large, thinking I could use it for the binding. Then I realised I could fold it up at the bottom and make it into another pocket, initially on the inside, I thought, with the wrong side of the fabric showing. While folding and ironing down the raw edge, it occurred to me that if I put it on the outside with a zip running horizontally, I could put my phone and or glasses case in it. Stupidly I attached the top of the zip to the cover first, thinking that would be easier. Then folding up the needlecord, I realised that if I stitched it I would effectively make the pocket inaccessible. Back to unpicking tiny stitches. (I should have lengthened the stitch length because of the thickness of all the layers.) I stitched the zip to the top of the pocket, THEN attached the zip to the cover. It still needs the right-hand side handstitching down to make a pocket and getting rid of the raw edges. It’s deliberately big at the moment so bulky things will fit in it.

I then added more pockets on the inside, some of which were a bit tricky to get at, having attached the one side and the zip. If it had all been better planned and I knew what I was aiming for, I would have attached them first, as I’d done on the other “pages”.

It’s nearly there now, just getting loose ends tidied up, the binding and a fastening on the front cover. I’m thinking buttons and elasticated loops, so that it will stretch or shrink depending on how much is in it.

I’m trying to keep on top of the travelling geodes and doing them soon after the Seata meeting, but Christmas got in the way for the most recent one. This top photo is how mine looked at the November meeting.

For the December meeting, the one that I worked on asked for the colours of the hankie’s border to be used with a stitch of your choice. I took this literally and used all the colours in the border to do a random sized blanket stitch (again) with two strands of DMC or Anchor from my stash.

With The Great Scunthorpe Embroidery Challenge, shared lunch, Christmas card competition and a raffle, there was so much going on at the December meeting, that I forgot to take a photo of mine.

The geode was the first thing I picked up when I finally found time to stitch between Christmas and New Year. It’s lovely colours, and Sandra has put a selection of threads to use if we wanted to use them.

Since it was so dull and grey outside, I fancied a bit of sparkle, so back to my Madeira metallics. Several of them in the tub would have worked, but I settled on the mauve / purple to do a parallel running stitch.

It’s very subtle for me in spite of using it double, but it catches the light beautifully, as does the gold fleck on the background fabric, and hopefully it will show up when the following rows are added.

It was decided in the summer that the SEATA group would do geodes as well as travelling books, starting at the September meeting. The travelling books group had got much smaller. I opted out a while ago. When the format changed, I found that it didn’t spark my imagination in the way responding to what was already in the book had done. Two pages on a drawn-out topic just wasn’t the same.

All the participants had to set up a 6″ or 8″ hoop with a background fabric of their choice. Then put it in a bag with a little notebook, pencil and any guidelines or instructions (stitches or colours for example), and add any threads or notions if they wanted to, ready to be picked up by somebody else taking part. The idea is to work one row, inside the previous row make a few notes in the little book – stitch, thread used etc., and SIGN the page, so we know who has done what on our geode, put it back in the bag ready for it to be passed on next month.

This is where the travelling books fell down sometimes, if somebody wasn’t at the next meeting to pass on and collect the next one on the list. We tried various ways to try and reduce the problems, but some groups got in a real muddle at times. It was decided that if you missed a meeting, just to do another row and pass on next time with the geode.

I was dithering on my background fabric but, while looking for something else, I came across a little paper bag with these autumn-coloured tree “buttons” in, long forgotten my original intention with them. However, I decided they would make a perfect border for my finished wood / forest / trees geode on this dark background fabric.

I found this variegated slubby yarn …..

….. and couched it down. I’ve put the trees in the bag, so they can be stitched down at the end. (They would catch on threads while stitching if I’d put them on at the beginning.)

This is how it looked at the October meeting, thanks to Sue.

I chose this lovely green hoop for my first pick, and by chance it happens to be Sue’s. The only confusion so far seems to have been that some of us had done our own first row and some hadn’t, but not a problem. I used this dark purple thread to do Coral knot stitch, deliberately not making it a perfect circle.

The one I picked up at the October meeting was Lorraine’s, with the gold (the top photo) already stitched. She wanted shiny and blingy, so I’ve used a deep pink Anchor Marlitt for a random buttonhole stitch.

I don’t know who took mine last month, so it will be fun to see how it has progressed.

This is a cotton pillow case that my mum embroidered in the late 60s / early 70s. It has a matching sheet, with the embroidered edge folding over the made bed. There was a single set each for my sister and me, and a double-bed set for mum and dad. I found it in an old suitcase when I was emptying the house after my dad died in 2016. The cotton is a lovely quality, a high count and with a very smooth and silky feel. The pillowcases were 5 shillings and 3d each (26p). This yellow one was for my bed; luckily the colours are still right, although I’ll probably add some burgundy too, on the other pieces.

The pattern and some Coates Anchor skeins were all in the bag with the sheets and pillowcases.

Mum had started on a second pillowcase, but this is as far as she had got. We had moved into a ramshackle old house in 1969, and there were far more urgent things to do than embroidery. Also in the early 70s we had continental quilts and easy-care poly/cotton bedding.

I was delighted to find them all. I assessed the sizes and came to the conclusion that, using the single sheets along with the double one, I can make a king-size quilt cover. The pillowcases were slightly grubby and had marks on them, but I washed the finished one and all the marks have come out. Phew!

It’s lovely to see mum’s work, and the delicate design is timeless. I am going to continue mainly with a single strand of thread, rather than the three strands in the instructions. I’ll vary the colours, partly as I don’t have a number for the paler green and there is literally only one length of it left, and partly because I think it will make a more interesting finished piece.

I’ve made a start, trying to match mum’s satin stitch, the yellowy green (two strands).

So far, only one finished motif. It will be good to pick it up between other projects, for a change of pace.

The last few weeks at “In the stitch zone” with Alex at Scunthorpe Library we have been working on a Filling Stitch Sampler Project. Alex suggested we use a simple shape for trying out the various stitches.

I decided to use my leaf shape from the first week back in September’s Fun with Feather Stitch Workshop, where I almost immediately went off piste. I did do one row as per instructions, but then wondered what would happen if….

…… I layered my stitches ……

…… more……

….. and more. I added a few stitches at the top to make it more leaf-shaped.

Some more stitches over the whole shape, until I ended up with this…..

…..which I was very pleased with.

The first week of filling stitches was satin stitch, which I’ve done before. So I challenged myself with a slightly textured variegated thread, no idea where it’s come from or what it is.

But I’ve got a much more slubby one, which must have been in the same dye bath, and which I’d wondered about using for the other side of the leaf. That was until Alex pointed out that it was only suitable for couching, which shows how long it is since I last did any satin stitch! The stranded one on the left is probably from the same dye bath, too.

I haven’t finished it yet, but I must before using up the last of the thread on the split stitch sample (week three).

This is also not finished, but I can use another thread on the other side.

On week two we did seed stitch, which I’d not appreciated could be one of several different stitches: french knots, bullions, stab stitch (the only one I’ve used before). I decided to use fly stitch on a scrap of green dyed slubby silk that I have been a bit precious about, in my go-to green perlé. It needs touching with an iron at the top right. Three more weeks to go before I need to decide how to mount them all.