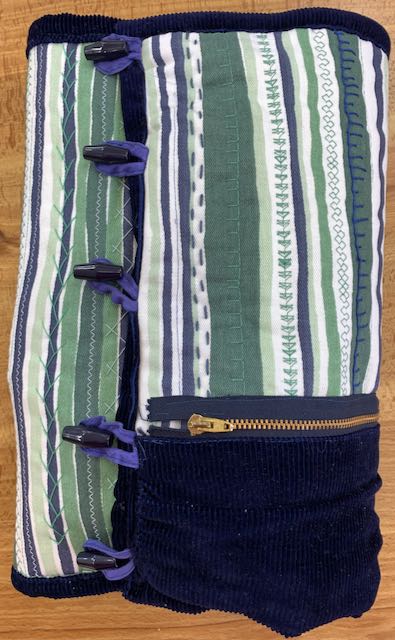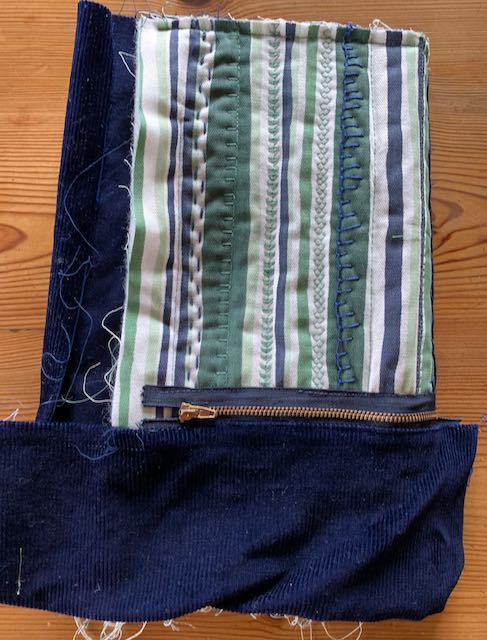
I cut off some of the excess navy needlecord on the left hand side, and folded the pocket section on to the lining (it needed a bit of fiddling to mitre the corner). The rest was ironed in half, then folded over to make the binding. It was quite bulky and, after trying to pleat / fold the excess on the pocket, I decided the easiest way would be to do a long machine stitch and gather it up like a sleeve head. This would make it even on both sides, and leave the pocket big enough for my glasses or phone.
Before it could be stitched down, I made some elasticated loops to go round the navy toggles found in my button box. I used this old round cord, threaded through bias binding stitched in half .
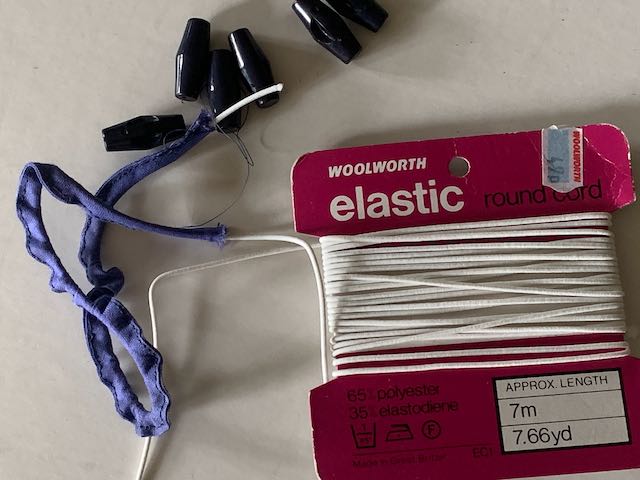
I used a mattress needle to thread it through, in the end cutting the bias into two and half inch lengths before threading the elastic.
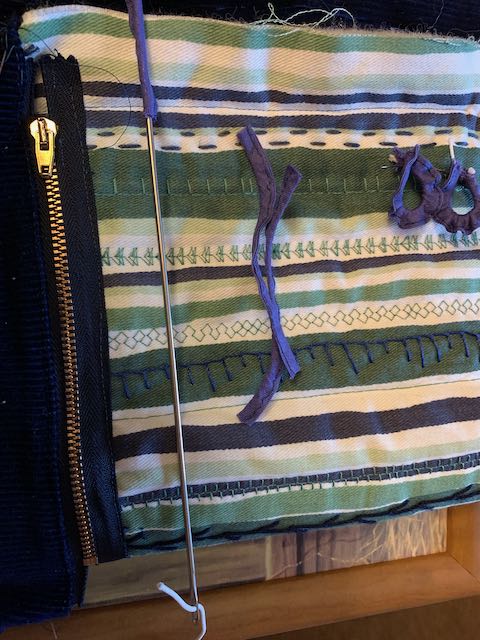
I pinned them in place and machine stitched them all down……
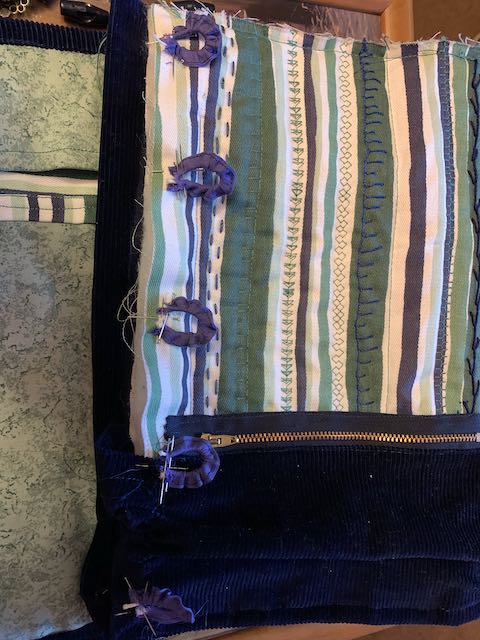
……..before folding over the binding and stitching it in place. Then another piece of binding was put across the top, the right hand side of the pocket was turned in and hand stitched in place.
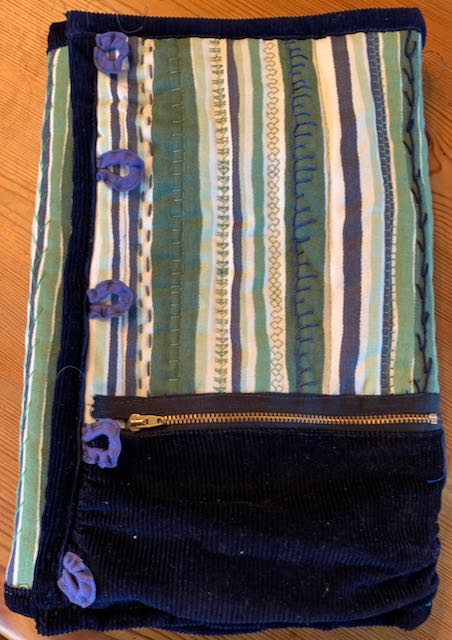
I then put things inside……
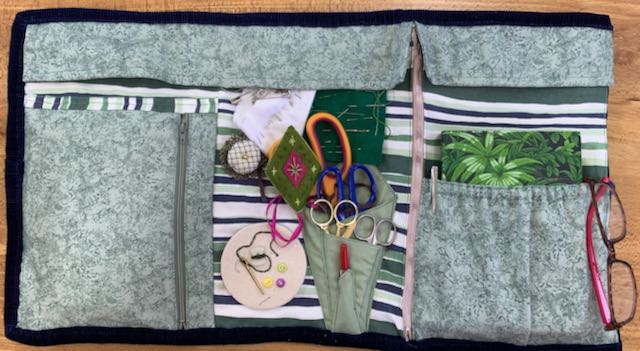
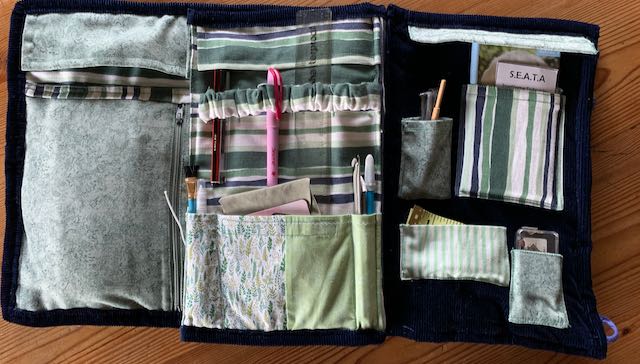
……. so that I could see where the toggles needed to be stiched. I’ve decided not to wash it for the moment in case the navy cord does run. (Alison suggested putting white or pale work in a plastic bag just to make sure it doesn’t pick up any colour.)
When they’ve seen it, several folk have said it’s bigger than they’d realised from my blog posts. When it’s opened out, it measures 34cm high (13 1/2 inches) by 61cm (24 inches) across the three “pages” and closed 23cm (9 inches). Yes, it is fairly hefty, but I should be able to take out with me all that I might need at various groups and classes I go to. Things will no doubt get tweaked and added to, but it’s finally finished and ready for use.
