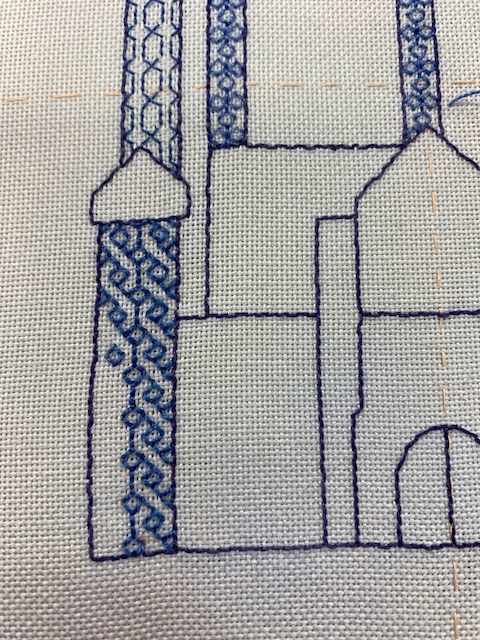
As I wrote at the end of Not black blackwork! (part 2), I needed to do some unpicking on the left hand tower to mirror image the diaper. That wasn’t too difficult, but when I tried to stitch the pattern, I got in a right muddle several times, even after I had flipped it on the computer and only needed to follow it.
After I finally lost patience with it, I put in a variation on the two smaller towers.
Simple and effective.
I then put in the centre part of the bottom tower.
I decided to start at the top and work down, rather than working up from the bottom, and for some reason this worked better. I still had to concentrate and take it slowly …..
…… but eventually got there.
I definitely need to work on it with no distractions around, at least until I have got into the rhythm of the pattern. I now have to work out the patterns that I want for the next sections.
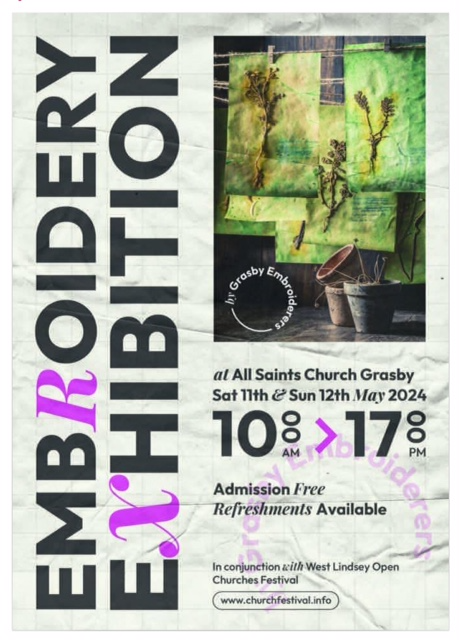
However, other pieces for the Grasby Embroiderers’ Exhibition next weekend have taken precedence.
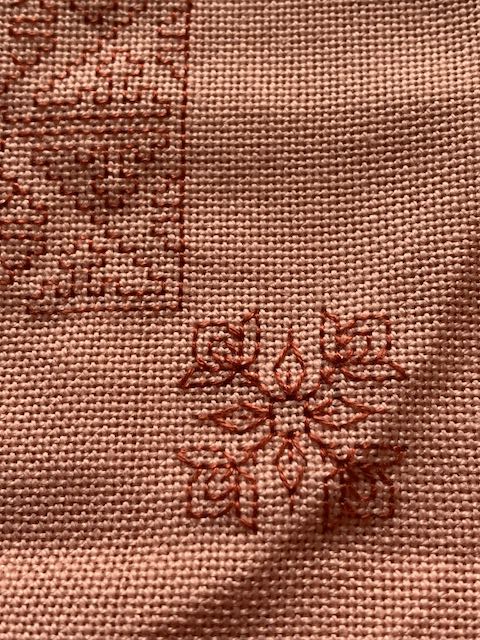
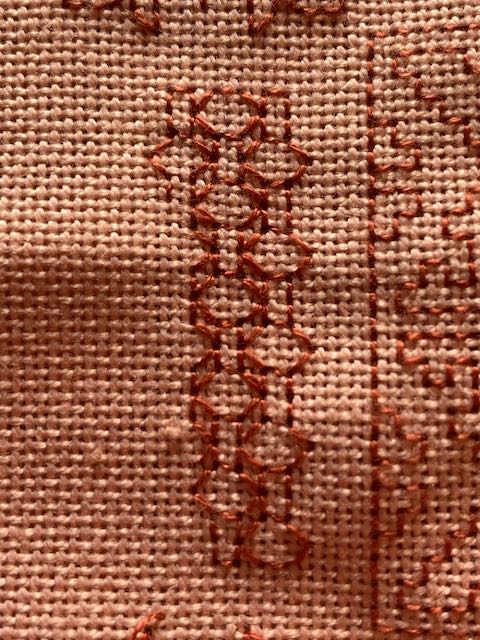
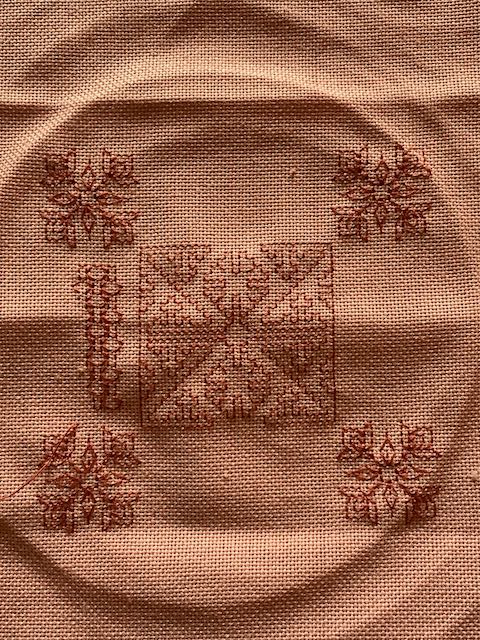
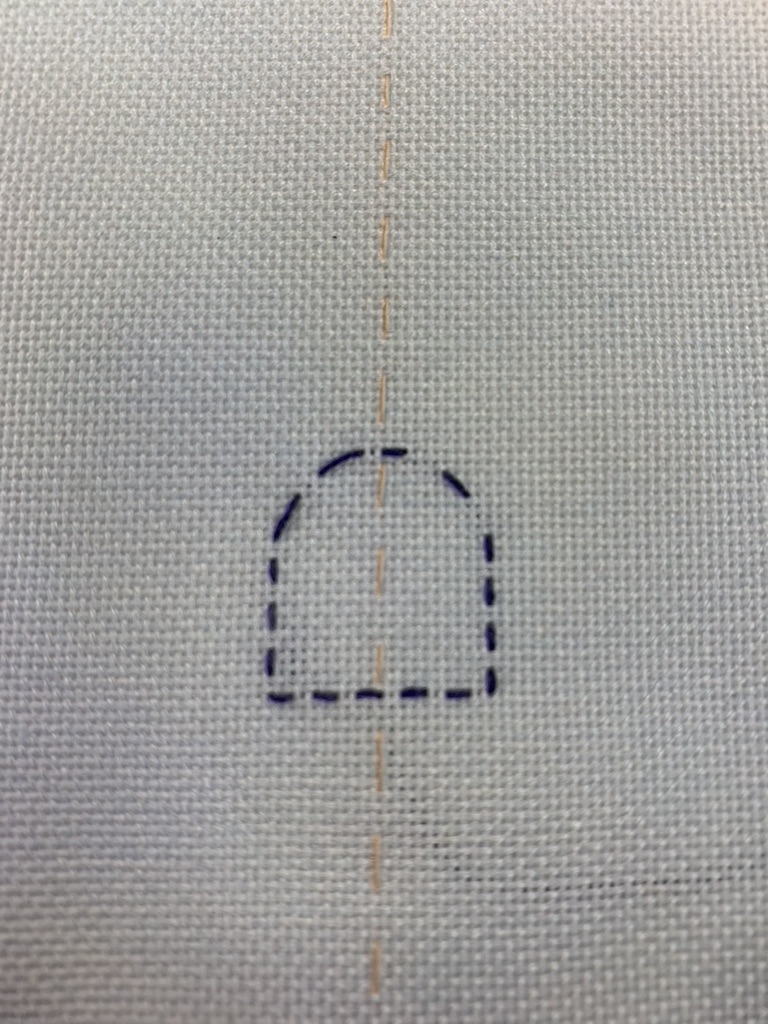
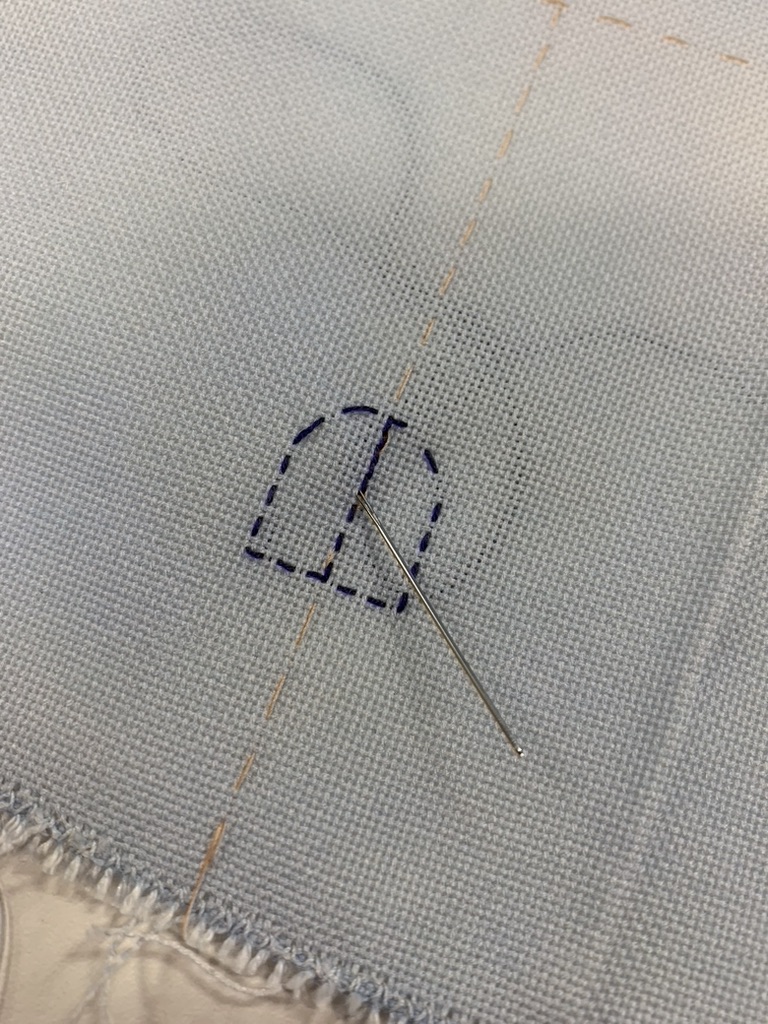
I’ve done some more on my blackwork sample piece that’s not black, which I started with Liz Almond at the Spring Gathering a couple of weeks ago. The central motif was relatively simple to be able to spot mistakes before doing very much, and it was obvious which stitches were the ones that needed unpicking. The little square motif below was not so easy, in spite of looking small and simple. The diagonal stitches threw me a couple of times. There are four….. one down, three more to go!
Every time that I thought I’d cracked it, I made a silly mistake, so there was quite a lot of unstitching. Even on the fourth corner, I managed to do two stitches over three threads instead of three stitches over two threads. It looks right, the pattern is right, it joins up and nobody has spotted it (yet) until I’ve managed to find it again and point it out. So I’ve left it. I’d already finished off a thread and started a new one before I realised.
I then ended up spending quite a long time on Liz’s website, and reading a couple of blackwork books. I’m still struggling to make decisions on how to progress my Blackwork Palace Project which continues in Finished bubbles and more.
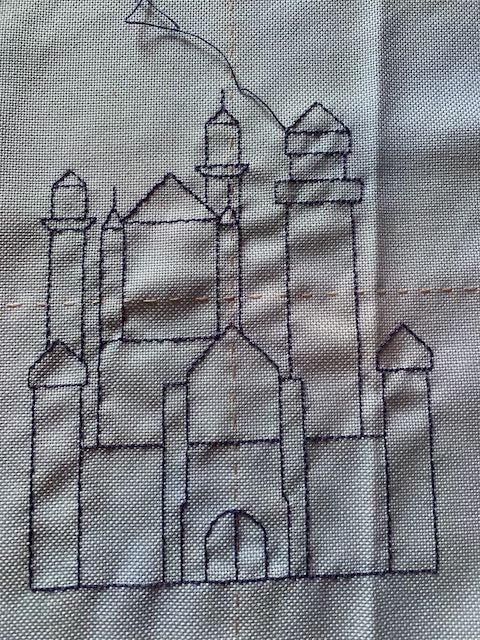
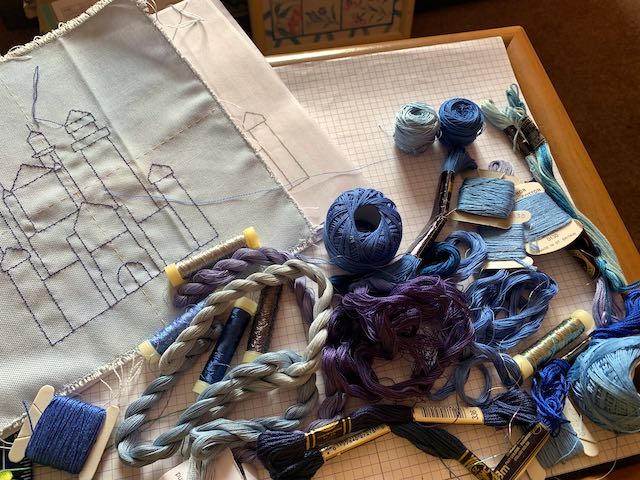
I thought I’d shown a photo of the outline finished, but it seems not. It stalled again here, which was one of the reasons I chose to do Liz’s workshop.
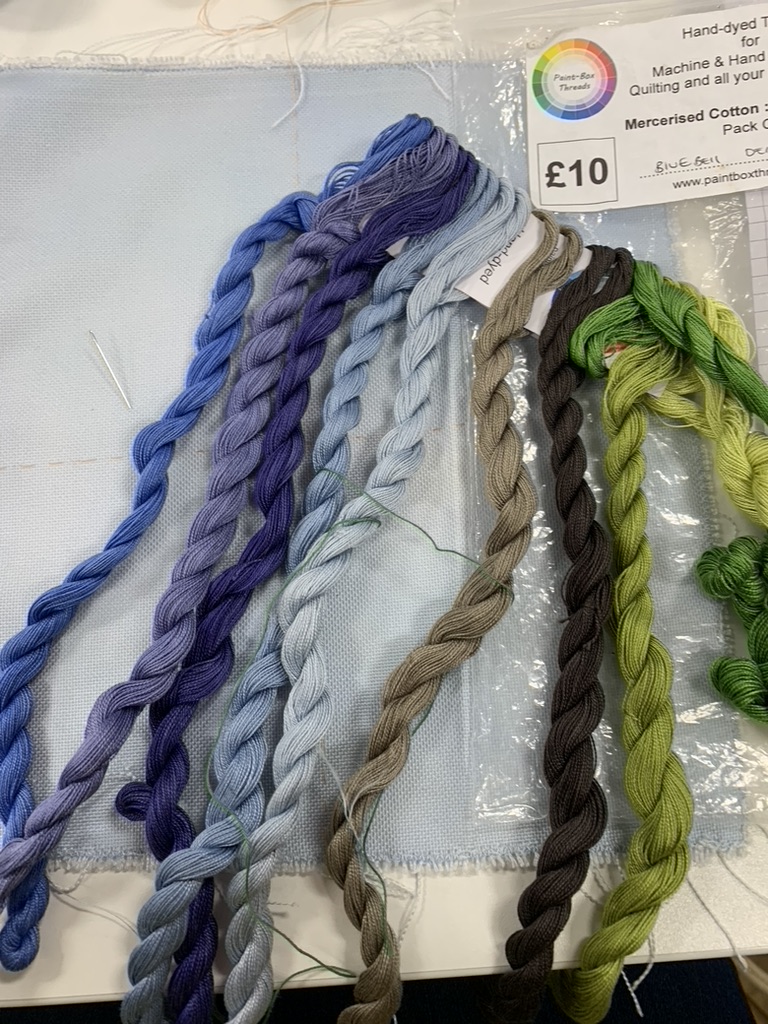
It will be in shades of blue, and I’ve gathered various threads.
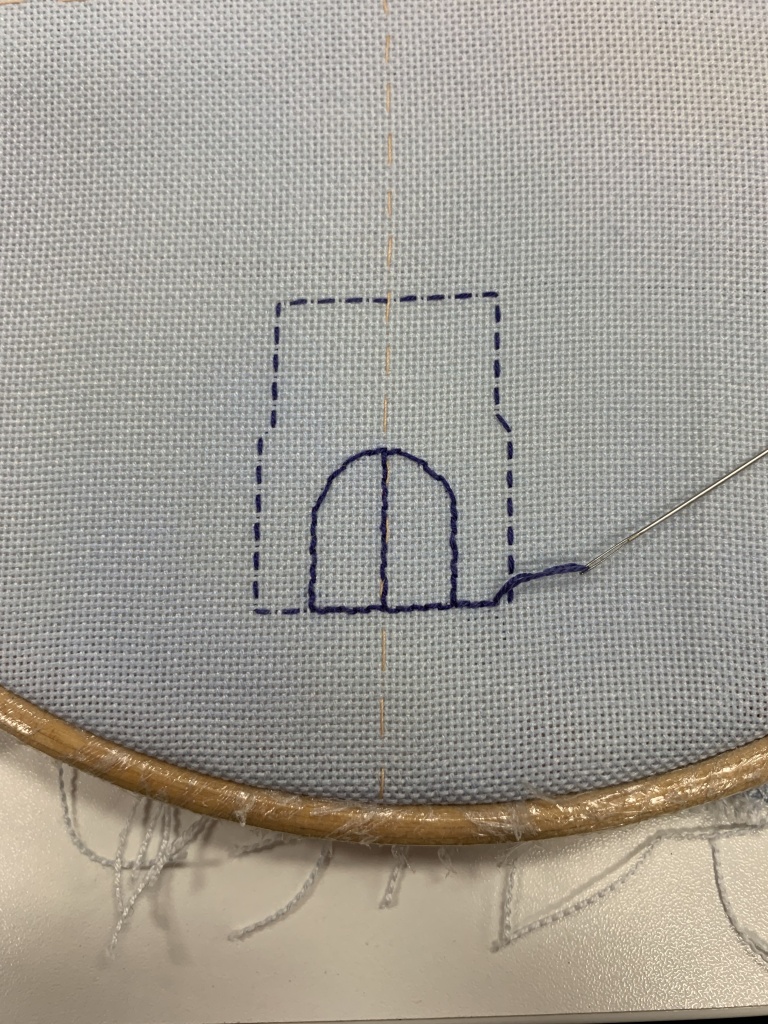
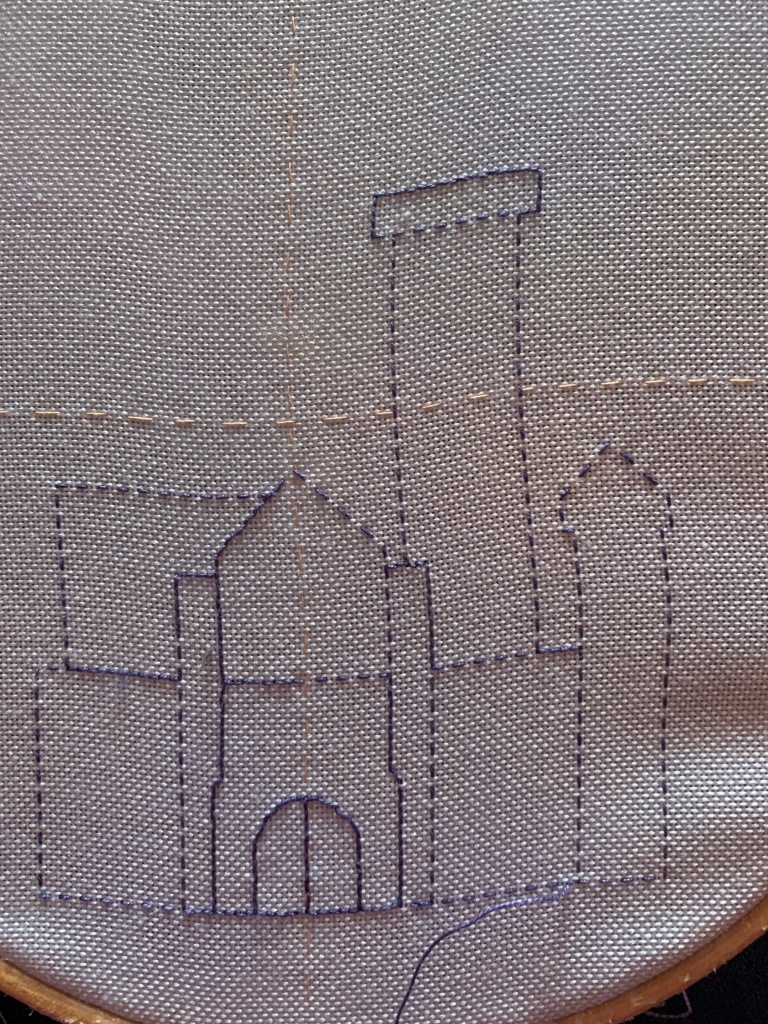
I also looked at Sarah Homfray’s blackwork on YouTube. Some very useful basics, such as starting in the middle of each area to be blocked in, both vertically and horizontally, so patterns look even. She demonstrates how to work various diapers (patterns). This is the beginning of one of the patterns from Liz, but worked in one colour rather than two that she’d used. It’s come on slowly, but I think it will work for one of the towers.
I’ll test out at least three more diapers between the corners. In spite of taking the hoop off each time I finish working, the fabric is marking, so I intend to put the castle on a rectangular frame before continuing with it.
This is what we have been working on at “In the stitch zone” with Alex Hall at Scunthorpe Library. I have done very little blackwork previously, a couple of little pin cushions, but that’s about all.
I’m not good at counted work, too easily distracted and lose my place in the pattern. I also find working black on white hard on my eyes and, with the high contrast, prone to trigger migraines.
All the same, having seen the start of Alex’s piece I was keen to have a go. We were to use coloured thread rather than black, and a suggestion of working on 14 count Aida. I decided to base my palace on Neuschwanstein, a wonderful castle that we visited with our German friends when camping in the Black Forest many years ago, unfortunately before digital cameras.
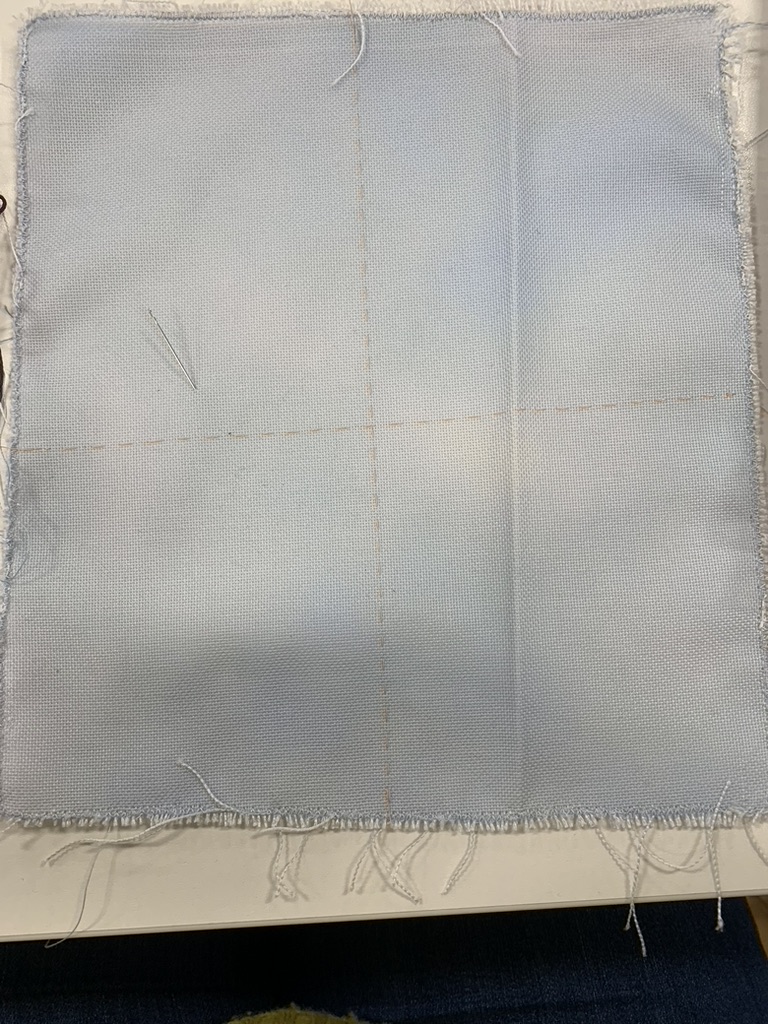
When we went to Neuschwanstein, it was a glorious morning, so I decided to use a pale blue linen rather finer than Aida (first mistake) for the background.
Last minute before the first class, I machine stitched round the edge of 8 by 9 inch fabric to stop it fraying as I worked. I used a zigzag stitch, first two sides ok, then something jammed up. Bobbin? Fraying edge? Soon a case of more haste, less speed, but eventually I got it sorted out with tweezers and scissors and quite a bit of tugging.
Once I got to class, I tacked in a centre line both horizontally and vertically, which showed part of the machining problem: the fabric was nowhere near square. Fortunately it is big enough, and can be stretched and mounted square when I eventually reach that stage.
I have a bundle of Paintbox threads that I bought years ago, which I have sat and stroked a few times, but didn’t want to break in to.
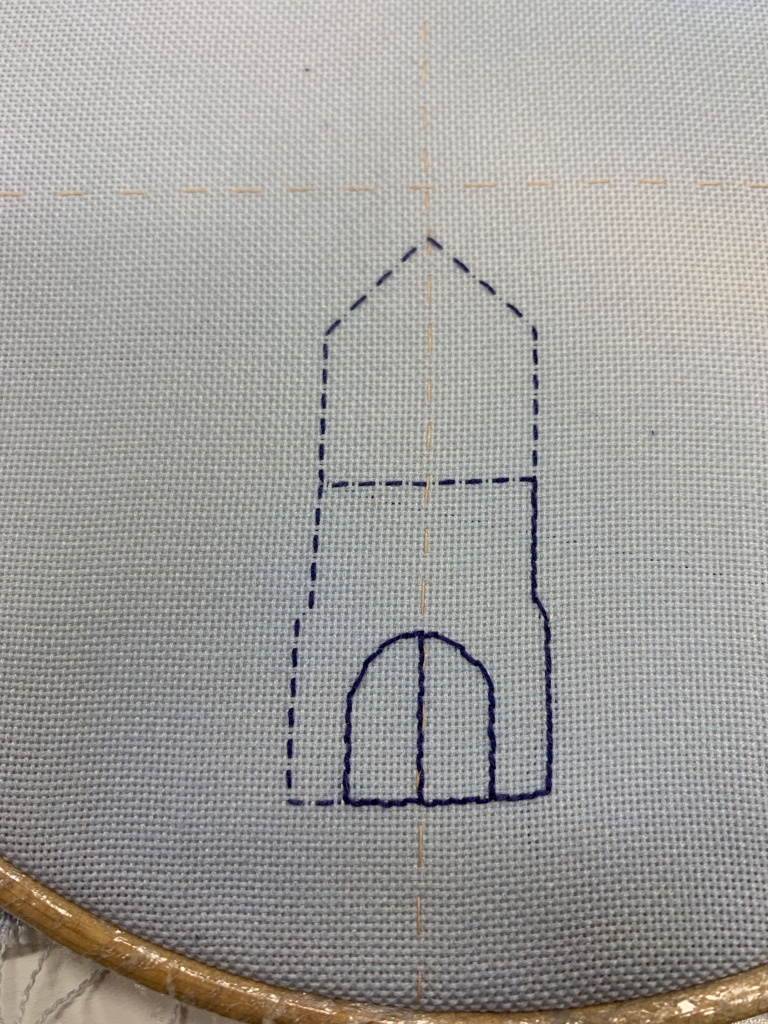
I finally have done, using the middle darkest blue for the outline. I’m using running stitch and will go back round to fill in the gaps. The scrappy sketch at the top is what I’m working with, and making the size of the shapes by eye.
By the end of the first session, I’d got a door!
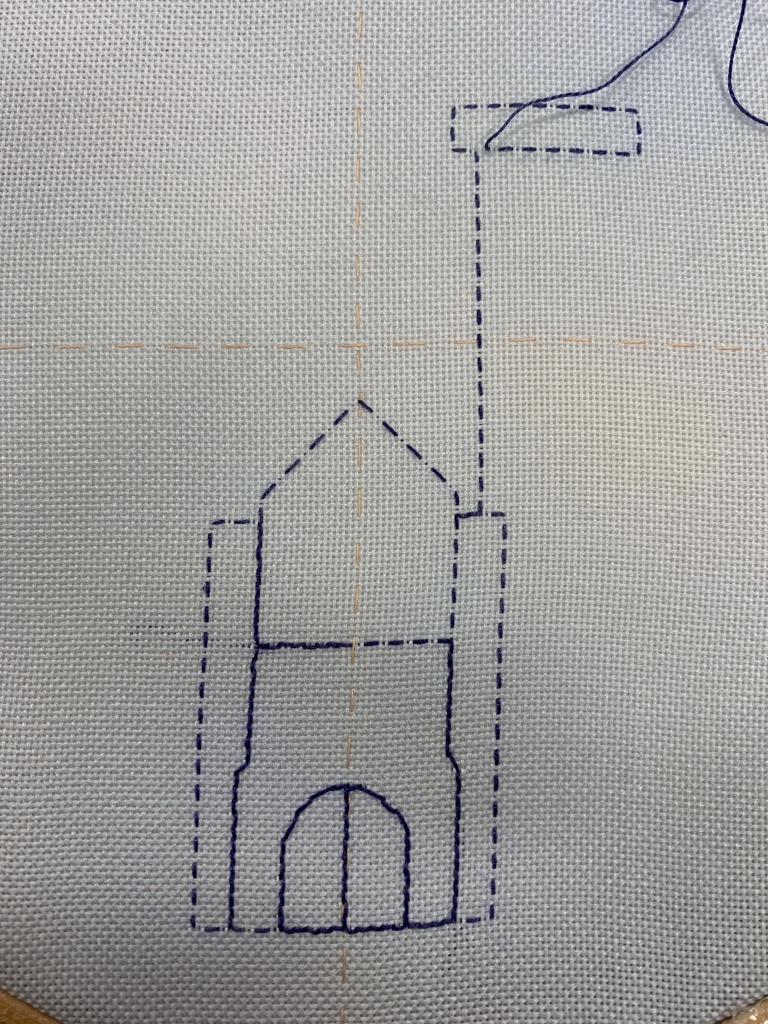
I had hoped to draw up a scale(ish) pattern by the following session, but didn’t get to it. So I continued with the scrappy sketch, using the door for proportion.
Alex had given us a couple of sheets with turrets, arches, windows, etc., which helped for my triangle at the top of the tower.
I then started putting in a turret. The slight curve didn’t work, so a bit of unpicking, much easier with running stitches than back stitch. After a couple of attempts trying to work it out, Alex advised doing a straight line as everything else is straight lines.
It immediately looked better, but by the end of the second session I’d only got to here.
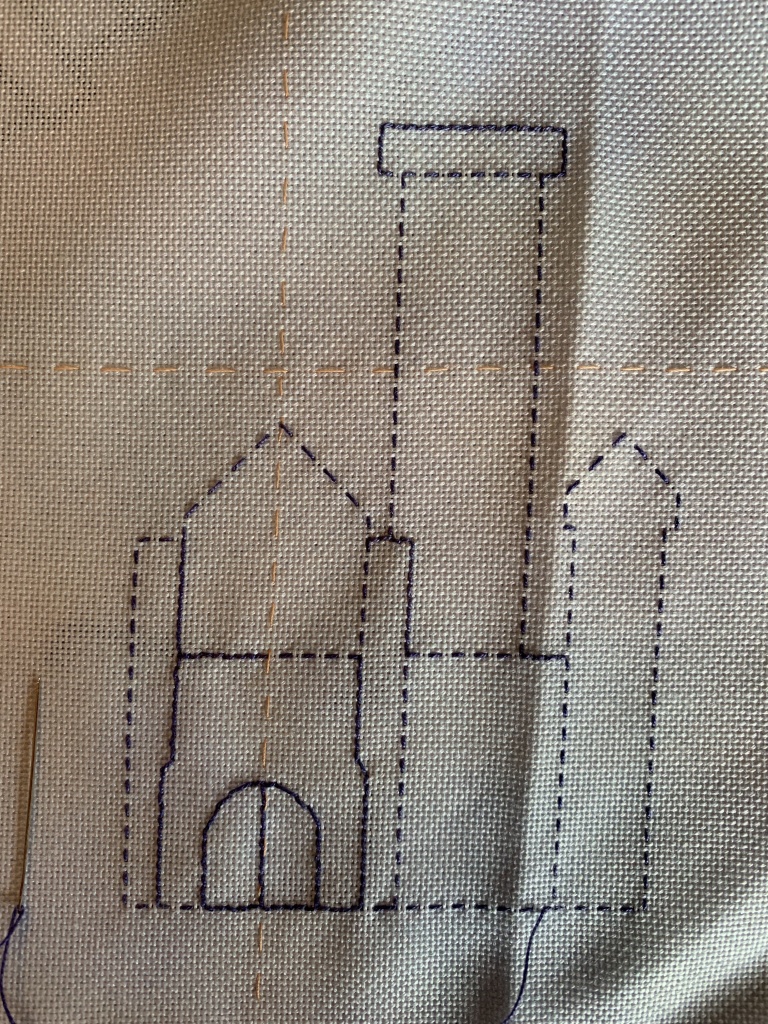
I’ve had a couple of short sessions since. It’s hard on the eyes even with my strong glasses on, much easier to count running stitches than back stitches …..
……for mirror-imaging the bits that need it. I’m working in a hoop at the moment to make this bit easier, by seeing it all at the same time, but being very good about taking it out each time I finish stitching. And I’ll either attach it to a square frame or work it in my hand, once I’ve done the outine. It’s a slow process and will be a WIP (work in process) for a while.
I’ve stayed focused on my shard piece this week, and apart from a Schwam workshop at Lincolnshire Textiles last Saturday, I’ve continued with it each chance I’ve had to stitch.
The first thing was to find some more threads, to vary the shades, texture, gloss and add a bit of sparkle. The “Bella Donna” viscose ones above may look beautiful and glossy, but they are horrendous to stitch with, very quickly untwisting, separating and becoming fluffy. I usually try only to couch with them, but thought the blue was such a good colour that I’d have a go (bottom right). It’s slightly better stitching in thin air with them, at least the fabric isn’t abraiding it, and it does glide against itself ok. It would have been easier to do Corded Brussels, and if I use it for another section it certainly will be the corded stitch.
I also used two of these trusty Madeira threads. I bought them years and years ago in a tiny little shop in Alnwick when we touring in the camper-van. Over the years I’ve used them a lot at some time or other, only for hand stitching, and often with another thread of some sort.
The difficulty with these was using two strands, the first time the blue with a fine perlé, not too bad (middle bottom), and it catches the light more than the photo shows. Then I started using it for the section that went down to the point.
The cord was less anchored, and going into the machine stitch down one side, it pulled it across, and I ran out of thread. While finishing off the end, I realised I could pull it over a little more and leave myself a new section. So I used a strand of the blue and the silver together, both very fine and inclined to tangle, especially as they were rather long with wanting to make sure I didn’t run out of thread again. Again the photo doesn’t show the sparkle.
It’s certainly a slow process. I’d done eight sections by last week and have now done seventeen, and started the eighteenth. I’m not sure how many more I’ll do as I’m assessing where to go next as I go, but I’m enjoying the process. The Corded Brussels Stitch is not only much better to do, it is also significantly quicker than the Brussels Stitch.
The coasters in the photo, showing the piece as is, are from Barcelona; Gaudí’s work is so stimulating and inspiring.
A couple of people have asked me about the piece in the last week or so, and thought it might be based on a stained glass window when I’d told them it was for a piece for Lincolnshire Textiles Exhibition to be held in the Chapter House at Lincoln Cathedral in August. Certainly rose windows and stained glass generally do inspire me.
Looking through photos a couple of days ago I found this, which we came across by accident when we were walking in Barcelona’s Gothic Quarter in April 2013, in the Plaça de Sant Miquel. It reminded me of some of my degree work “Informed by the organic”, that I was working on for the degree show in May.
New work is often influenced by earlier work and input, even when it is subconsciously. Looking through photos is often a good starting point, and although I didn’t find many pictures of the people and dog that I was looking for, I did find lots and lots of things that are ideas for my art and textile work.